
How to use Attach in Cricut Design Space
The tools in Cricut Design Space are very powerful and when used properly, they will make a major impact on our projects.
Slice, Weld, Attach, Flatten and Contour are the 5 most powerful tools in Cricut Design Space and I will be going over each. I will be discussing Attach in this post.
In this post I will be discussing how to use Attach in Design Space. If you want a better understanding of how this tool works as well as how to troubleshoot if you encounter any issues then continue reading. I’ve also gone over Slice, Contour, Weld and Flatten in detail so check those out too so you can get a complete understanding of how to master the tools in Cricut Design Space.
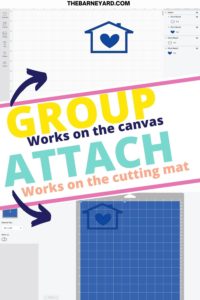
I know there is a lot of confusion between Attach and Group so before I go any further I want to get it out of the way. I'll share a little hack with you right now and you can decide if you want to continue reading this post or move on to watching the video. Remember this little hack, Attach works on the cutting mat and Group works on the canvas. That's it! I go into this a little bit further in my post about Group in Cricut Design Space. You can read it here.
What is Attach?
When you attach images in Cricut Design Space, you are doing one of two things. You are either:
- holding the placement of your design together; or
- placing score lines or text on a cut image
Attach Holds the placement of your design together
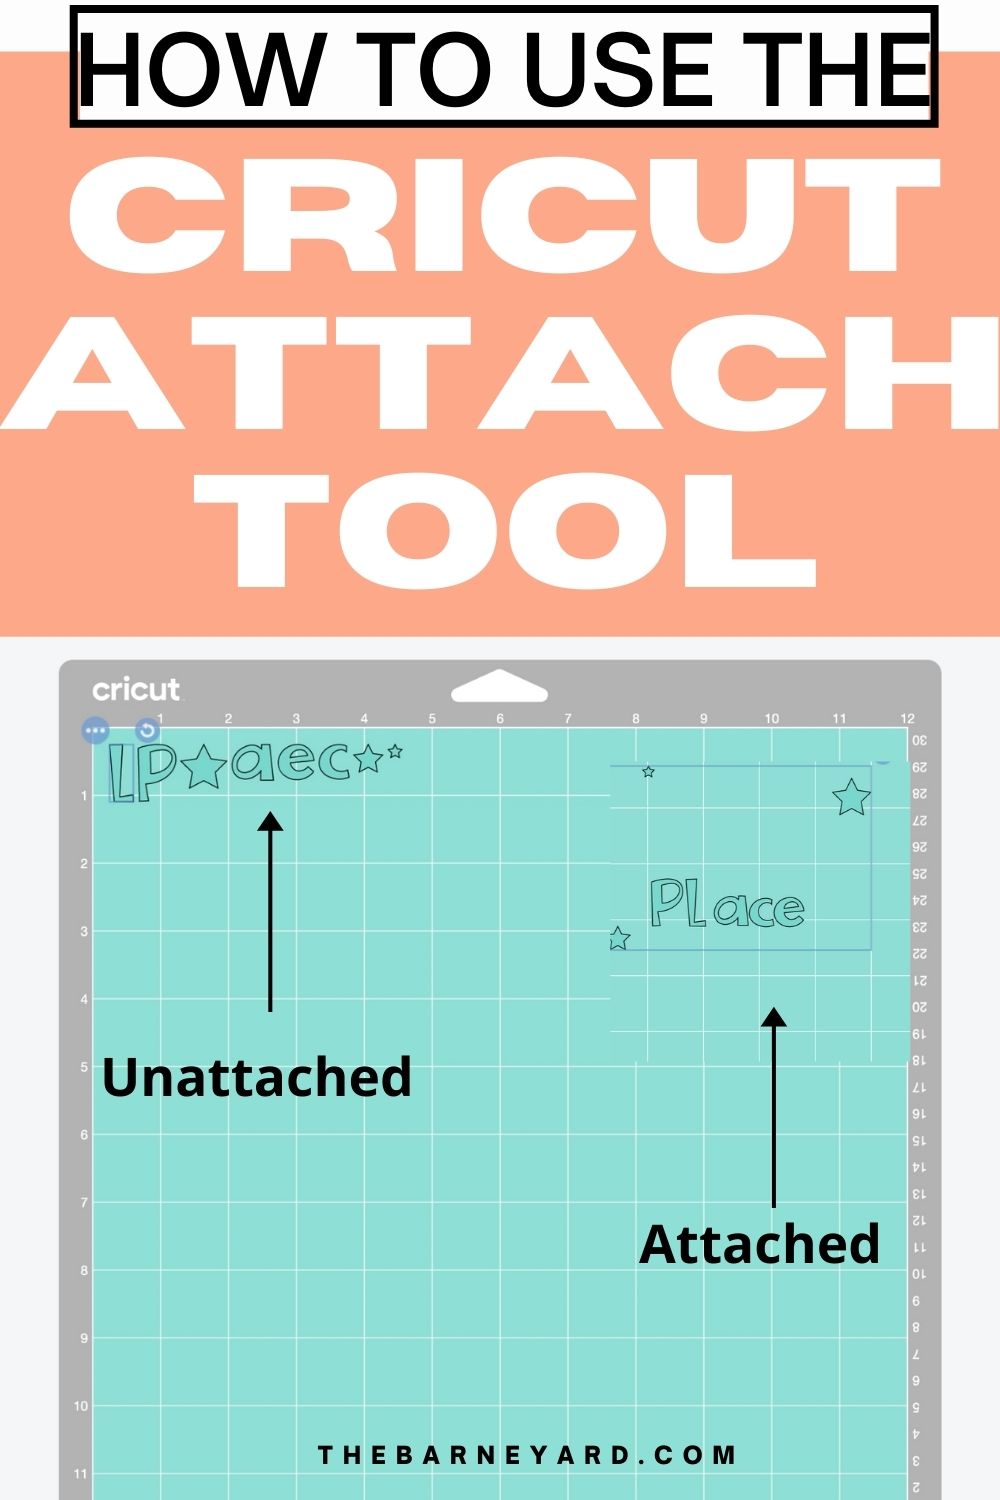
When you use the attach tool in Cricut Design Space, you are holding the placement of your design together. In other words, you are freezing all the elements of your design right where they are on the canvas so when you press “Make it”, your elements appear on the cutting mat the exact way they were arranged on the canvas.
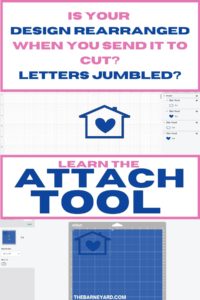
On the contrary, If you don't press Attach, when you send your design to cut, Cricut will arrange everything on the cutting mat in a way which conserves material and your images will be placed randomly. Therefore, if your design looks weird when you send it to cut, go back and press attach. That should fix it.
Attach is for placing score lines or writing text on a cut image
If you want score lines on a design or if you want to use the Cricut pen to write text on a cut image, then the attach tool is the tool to use. A score line is a crease that helps you to fold paper more easily. An envelope is a great example of a project that uses score lines. Another great use of the Attach tool is writing text on a cut image. By selecting the attach tool, when you send your image to cut, the image and the text will be on the same layer.
Why use Attach in Design Space
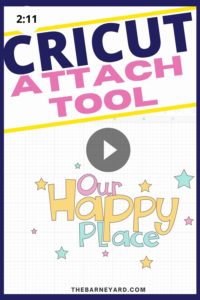
Attach is important because you maintain position and placement. Let's say you're making a shirt that says “Our happy place”, if you don't Attach, the design will be randomly arranged on the mat and you will have to ensure the position and placement of each word is correct on the final product.
If you Attach, your design will be held intact which ultimately translates into less work.
Can I attach different colours in Design Space?
You can only attach designs with the same colour . If you try to attach different colours, once you hit Attach in Cricut Design Space, the images will all turn to the same colour. This happens because Cricut assumes these elements belong together.
If you want to attach a design that has multiple colours, you have to attach each element of the design by colour. Not to worry, the design will appear on the cutting mat the same way it was arranged on the canvas.

Isn't attach another word for Group?
I understand the confusion between Group Tool and Attach Tool but there is a huge difference.
When you Group in Cricut Design Space, you are holding elements together so you can move them or size them all at the same time. The Group Tool has nothing to do with how the design will be arranged on the cutting mat once you send them to cut. Group only works on the canvas.
When you Group items together, you're making it easier to move and resize these elements together rather than doing it one by one. Once you send your design to the cutting mat, Group doesn't work anymore. Therefore if you didn't attach your design, the elements will be rearranged on the cutting mat. Look at it like this, Group works on the Canvas and Attach works on the cutting mat. You can watch the video on Group here.
Summary
If you don't want your letters to be jumbled on your cutting mat, then you must use the Attach Tool. You must also use attach so your images aren't randomly arranged on the cutting mats. with the Attach tool, you can be confident the cutting mat will mirror how the design has been arranged on the canvas. The Group tool is not the Attach Tool because it only holds elements together on the canvas. That's it. Once you send to cut, Group no longer works but Attach does.
What has your experience been with the Attach Tool and the Group Tool? Let me know below.
WANT TO REMEMBER THIS POST ABOUT THE ATTACH TOOL IN CRICUT DESIGN SPACE? SAVE THIS PIN TO YOUR PINTEREST BOARD!
0 Comments on “How to use Attach in Cricut Design Space”